Running a Chainlink Node for the First Time
This article serves as a guide for new Chainlink node operators interested in learning what it takes to run a node. While this document is neutral towards any operating system, it does require some familiarity with the command line, which is commonly used by Linux and Mac users. Additionally, it is perfectly fine to run a Chainlink node in a test setting on your local machine. There is no requirement to purchase a cloud hosting plan. However, you may want to consider doing so when running your Chainlink node on the Ethereum main net as its ability (or inability due to downtime) to respond to requests will affect your reputation.
If you would like a shorter, less-detailed guide, please visit our official documentation on running a Chainlink node here.
There are two ways to run a Chainlink node. The first is to install all required development dependencies, download the code base, and compile a binary on your local machine. The second is simply to run a Docker image that we keep up to date as part of our continuous delivery process. This guide focuses on the latter method because it is easier and more approachable for most audiences. If you have extensive systems or development experience, feel free to follow the complete setup guide for a Chainlink development environment here.
The first step is to install Docker-CE. Docker-CE (community edition) is a free version of Docker that you can use to spin up containers without having to pay for enterprise-level support. After clicking the Docker-CE link, select your operating system on the left side-bar and follow the installation instructions. Once complete, continue to the next step.
Next, the Chainlink node requires an active connection to an Ethereum client to communicate with smart contracts on the blockchain. We will want to have an Ethereum client running and synced before we start the Chainlink node. Again, the easiest way to do this is with Docker. Geth and Parity offer official images through Docker, and are very easy to run. Both follow the same basic steps: download the image, create a volume, run the image. It doesn’t matter which client you prefer.
To download the Geth (ethereum/client-go) Docker image, run the following command:
docker pull ethereum/client-go:stable>
This will download the Geth client to run as a containerized application on your local machine. Next, create a directory for blockchain data so that you don’t need to re-sync the entire blockchain every time you restart the image. This is done with a simple command:
mkdir ~/.geth-ropsten
This creates an empty directory that we will use for Geth’s Docker image every time it’s run. Finally, you’ll want to run the image itself, using the directory we just created and giving it parameters to make it easy for the Chainlink node to connect to it:
docker run --name eth -p 8546:8546 -v ~/.geth-ropsten:/geth -it \
      ethereum/client-go:stable --testnet --syncmode light --ws \
       --wsaddr 0.0.0.0 --wsorigins="*" --datadir /geth`
With this command, we are enabling websockets, a required protocol, for the Chainlink node to connect with. We are giving the container the name eth, using the directory that we created in the second command, and telling it to run on the Ropsten test network. This also runs the Ethereum client in light mode, which keeps the blockchain data minimal. Since there are security concerns about running a light client, it is not recommended to do so on the Ethereum main net.
If you want to run the Parity client instead of Geth, the commands are essentially the same. The only difference is the name of the image and directory. You can download the latest Parity Docker image by running:
docker pull parity/parity:stable
Then create a persistent directory just for Parity:
mkdir ~/.parity-ropsten
And finally, run the Parity image:
docker run -h eth --name eth -p 8546:8546 \
       -v ~/.parity-
ropsten:/home/parity/.local/share/io.parity.ethereum/ \
       -it parity/parity:stable --chain=ropsten \
       --ws-interface=all --ws-origins="all" --light \
       --base-path /home/parity/.local/share/io.parity.ethereum/
Once the Ethereum client completes syncing, we’re ready to run the Chainlink node.
Similar to our steps with the Ethereum client, we’ll first download the latest Chainlink image from Docker:
docker pull smartcontract/chainlink:latest
We’re using the “:latest” tag because it is kept up to date with our code repository on Github. We also want to create a persistent directory for the Chainlink node so that we don’t need to start over every time we restart the image:
mkdir ~/.chainlink-ropsten
Next, we do a little setup to configure the Chainlink node. Chainlink uses environment variables for configuration. Before we run the node, we need to create a file to be passed into the Docker image which contains our desired values. On Linux and Mac, create this file by simply running:
echo "ROOT=/chainlink
LOG_LEVEL=debug
ETH_URL=ws://eth:8546
ETH_CHAIN_ID=3
MIN_OUTGOING_CONFIRMATIONS=2
MIN_INCOMING_CONFIRMATIONS=0
LINK_CONTRACT_ADDRESS=0x20fe562d797a42dcb3399062ae9546cd06f63280
CHAINLINK_TLS_PORT=0
CHAINLINK_DEV=true
ALLOW_ORIGINS=*" > .env
The values for the “ETH_CHAIN_ID” and “LINK_CONTRACT_ADDRESS” are populated with values specific to the Ropsten test network. If you want to run the node on a different network, just change these values. The file is saved typically with the name “.env” but you can name it whatever you like. The next command assumes that the file name is “.env”. If yours is named differently, you will need to update the following command.
Now, we’re ready to run the Chainlink node:
docker run --link eth -p 6688:6688 \
           -v ~/.chainlink-ropsten:/chainlink \
           -it --env-file=.env \
           smartcontract/chainlink local n
This starts the Chainlink node using the values stored in the environment file you previously created, and links it to the running Ethereum client’s Docker image. The first time running the Chainlink node, you will be prompted for a password, followed by a password confirmation. This is for your Ethereum keystore file used by the node. We use the Chainlink node to manage the Ethereum keys instead of the Ethereum client. This means there’s no need to run your Ethereum client with an unlocked account while the JSON-RPC port is open. The Chainlink node’s key will be the one that signs transactions, which are answers to requests, for smart contracts. It will need some ETH to write to the blockchain. Once the node displays your Ethereum address (after the next step), you can obtain Ropsten ETH for it here.
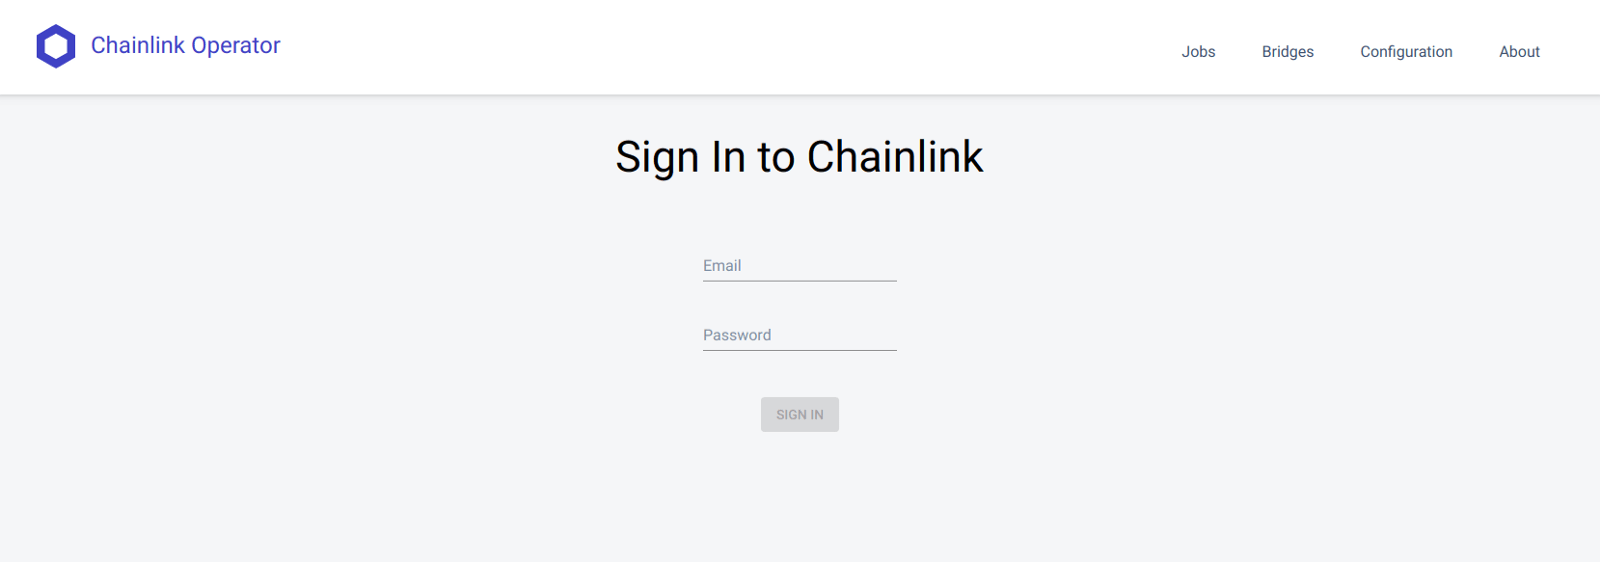
Next, it will prompt you for an API Email and Password. This will be used for interacting with the Chainlink node through the API, command-line, or the GUI. Enter an email and a strong password, preferably different than your keystore password, to complete the setup process. You need to wait for the Ethereum node to complete syncing before the Chainlink node is fully operational.
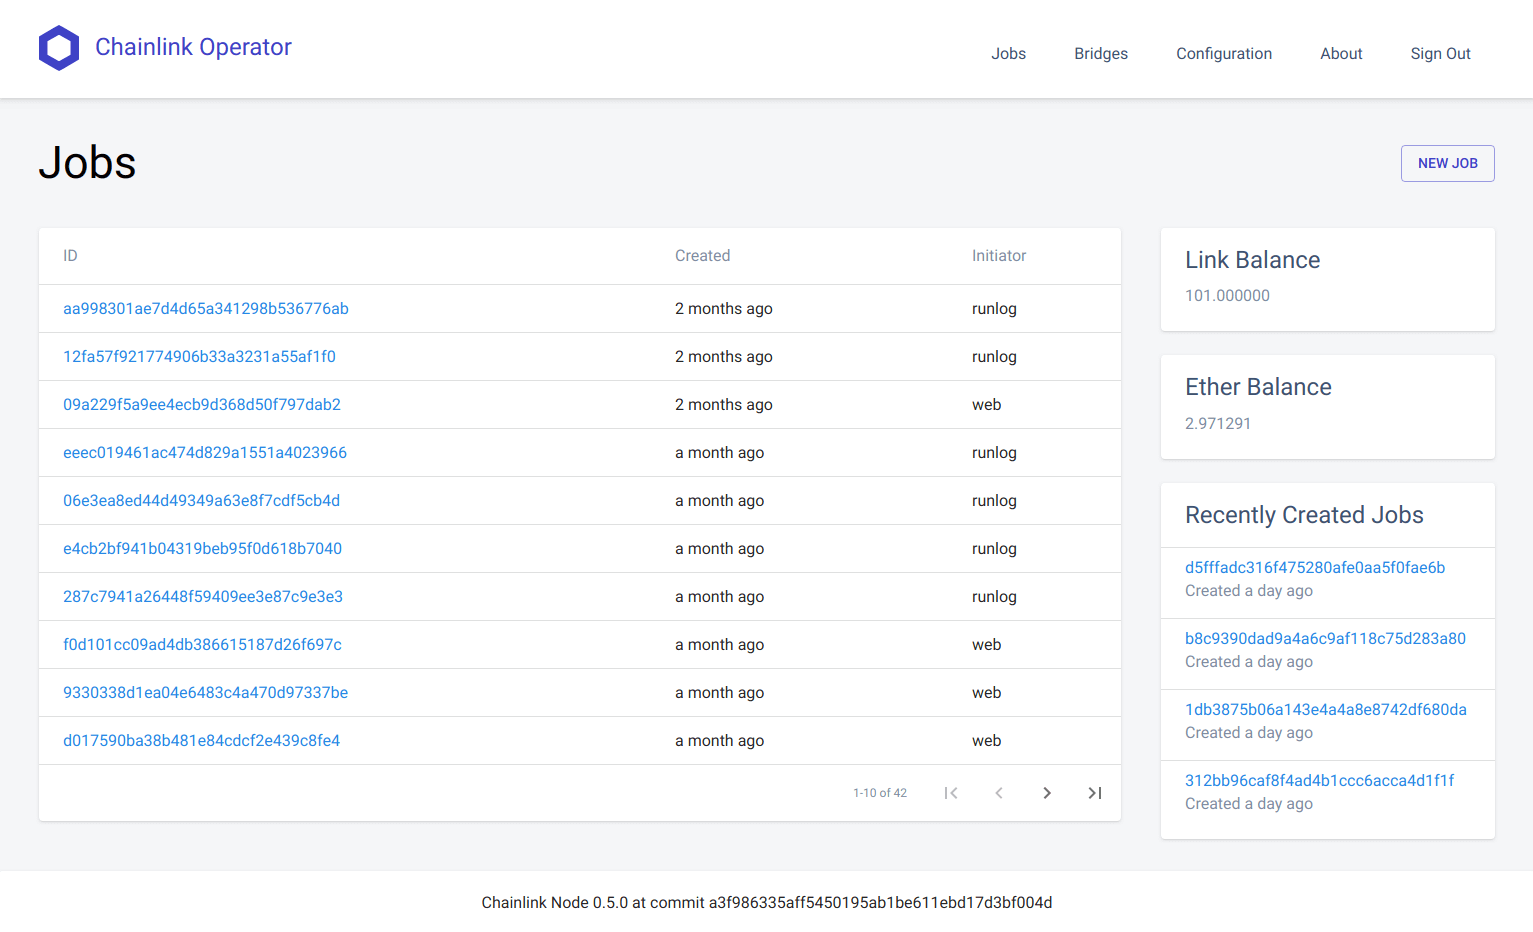
If all goes well, you should see the node running and receiving block headers from the Ethereum client. You can also point your browser to http://localhost:6688 and see the GUI.
Congratulations! If you made it this far, you are a node operator!
Your next steps are to add some jobs and play around with the node on an Ethereum test network. Go ahead and check out our guide on how to fulfill your own contracts until aggregation is implemented.
If you have any questions, feel free to ask on our Telegram channel and we’ll be glad to help you.
Thanks to Steve Ellis.


