Convert a Vending Machine to Accept Cryptocurrency Payments Using Chainlink Price Feeds
What would it take to upgrade a vending machine so it can accept cryptocurrency?
For automated real-world systems to allow people to transact in their currency of choice, including cryptocurrency, these external systems need the ability to speak to blockchains and exchange transactional logic that makes sense to both environments. Chainlink oracles are the bridge between these systems, designed to securely connect external inputs to smart contracts.
As an excellent example of this real-world connectivity, one of the Chainlink Virtual Hackathon prize winners, developer Ted Nivan, used a Chainlink External Adapter to connect a simulated fruit vending machine to a Chainlink ETH/USD Price Feed oracle so it can accept ETH as the currency to buy single-serving fruit. In this post, Ted explains how he built it.
By Ted Nivan
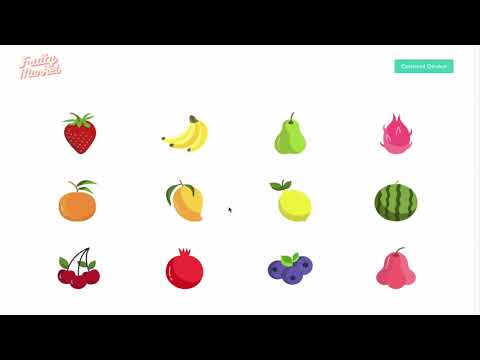
Fruity Market is an open proof of concept designed to experiment with a new way to make vending machine purchases using cryptocurrencies. Using Fruity Market, a user will be able to make a vending machine purchase using blockchain technology on a mobile phone wallet without a cashier. Specifically, this tutorial will show developers the steps needed to convert a vending machine to use ETH as money by referencing the Chainlink ETH/USD Price Feed to price products at fair market prices.
What you will learn:
- How to integrate the Chainlink ETH/USD Price Feed oracle
- How to connect a hardware device to the web
Developer Prerequisites
This dApp requires both software and hardware components.
Software:
- Infura: Used to connect to the Ethereum network. As a developer you will need an Infura key.
- Web3JS: Used by the front-end to interact with the Ethereum network.
- WebUSB: Used to talk to the hardware device through the web.
- Arduino IDE: Used to flash the device’s firmware.
Hardware:
- A server or laptop is required to act as the host.
- Arduino Nano 33 IoT: Used as the hardware device to simulate the vending machine. Arduino boards are a popular choice of hardware development boards as they are easy to use and program.
Technical Overview
This tutorial will walk developers through steps from the GitHub repo, which you can familiarize yourself with before you get started. The video submitted for the Chainlink Virtual Hackathon is also a good place to understand how the components work together.
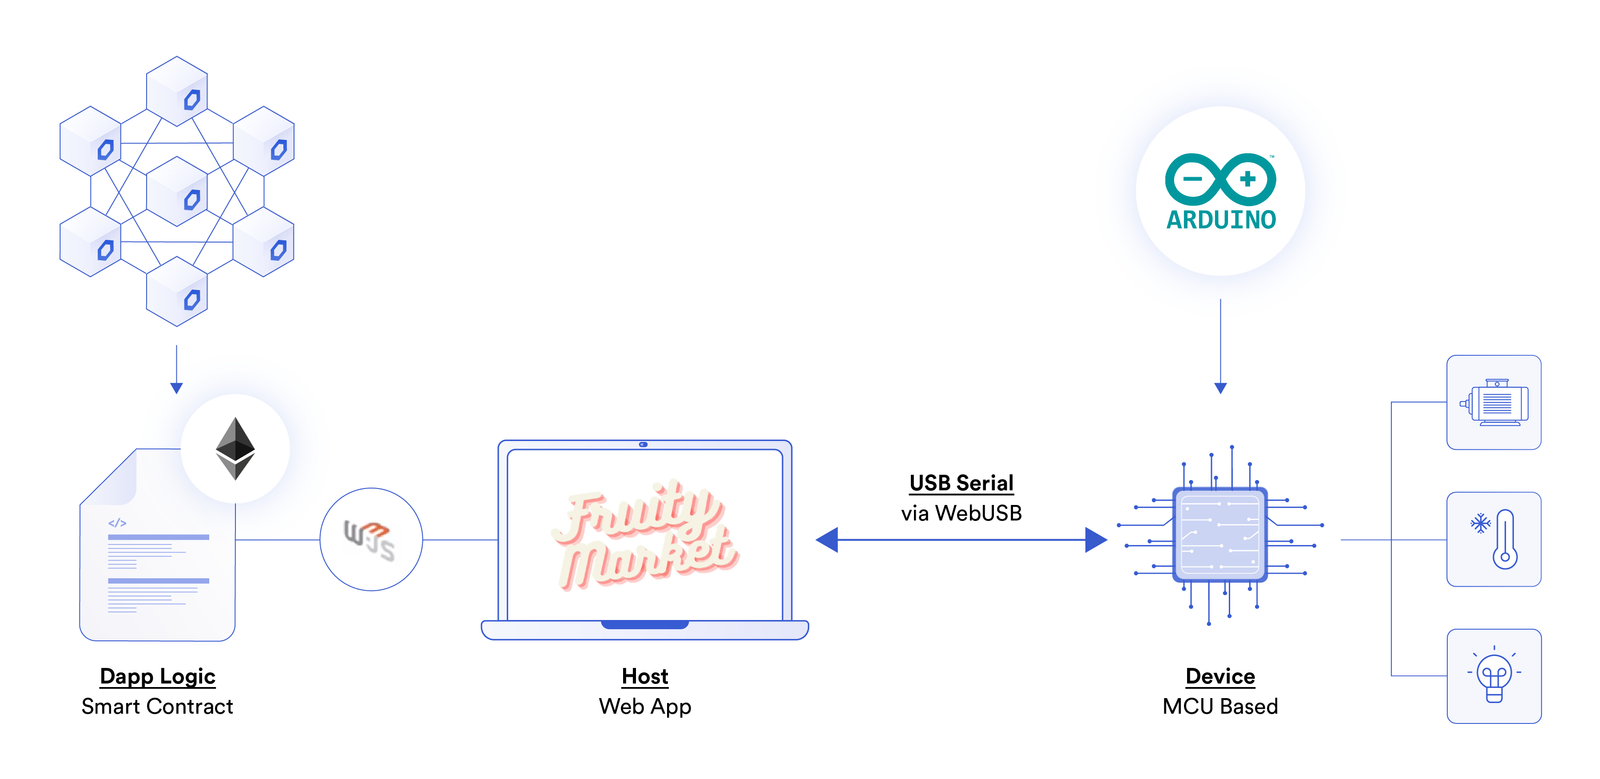
From the left side, we have the application running on Ethereum that uses the Chainlink ETH/USD Price Feed. We will use this Price Feed to convert the dollar price of the fruit to Ether (ETH). Once the payment is successful, the dApp sends a signal from the host (computer) to the device (Arduino board) to get the fruit delivery. Assuming we don’t have a physical vending machine, we will simulate this behavior by turning on an LED to acknowledge the fruit delivery.
Setting Up the Project
Here we will see how to run the app locally.
- Clone the Fruity Market repository.
>git clone https://github.com/TedNIVAN/fruity-market.git
2. Initialize the project.
cd fruity-market
npm i
3. Set your Infura API KEY in src/.env_sample
4. Rename src/.env_sample to src/.env
5. Build the project.
npm run dev
The app should be running at: http://localhost:1234
Flashing the Arduino Firmware
Once we have the app running, the next step is to install the Arduino IDE and then flash the Arduino firmware. This must be done to enable the communication between the device and the application, and also to interpret the transmitted data.
The Arduino firmware required for this step can be found here.
The code performs the following tasks:
- It only authorizes the device to communicate with the application page: tednivan.github.io/fruity-market/app via HTTPS. Note that communication will also work if it’s run locally (http://localhost:1234/).
- It establishes the serial communication.
- It waits for the character H to toggle the LED.
The code runs on the Arduino NANO 33 IoT but is supported by most Arduino boards. See the full list of supported boards here.
#include <WebUSB.h>

/**
 * Creating an instance of WebUSBSerial will add an additional USB interface to
 * the device that is marked as vendor-specific (rather than USB CDC-ACM) and
 * is therefore accessible to the browser.
 *
 * The URL here provides a hint to the browser about what page the user should
 * navigate to to interact with the device.
 */
WebUSB WebUSBSerial(1 /* https:// */, "tednivan.github.io/fruity-market/app");

#define Serial WebUSBSerial

const int ledPin = 13;

void setup() {
  while (!Serial) {
    ;
  }
  Serial.begin(9600);
  Serial.write("Sketch begins.\r\n> ");
  Serial.flush();
  pinMode(ledPin, OUTPUT);
}

void loop() {
  if (Serial && Serial.available()) {
    int byte = Serial.read();
    Serial.write(byte);
    if (byte == 'H') {
      Serial.write("\r\nTurning LED on.");
      digitalWrite(ledPin, HIGH);
      delay(2000);
      Serial.write("\r\nTurning LED off.");
      digitalWrite(ledPin, LOW);
      delay(2000);
    }

    Serial.write("\r\n> ");
    Serial.flush();
  }
}
These are the steps required to flash the firmware:
- Connect the Arduino to your PC or whatever you are using for the host with a USB cable.
- Open the Arduino Software (IDE).
- Select the correspondent port and board.
- Open the fruity-market.ino sketch taken from the project’s GitHub repository.
- Upload the sketch.
If you are not familiar with Arduino, check out this guide.
Diving Into the Smart Contract
The next part of the project is the smart contract. The smart contract is responsible for getting the Ethereum Price Feed (getLatestPrice function) and triggering an event whenever a payment is received (Received event). The payment processing is then done on the client side.
import "https://github.com/smartcontractkit/chainlink/blob/master/evm-contracts/src/v0.6/interfaces/AggregatorV3Interface.sol";

contract FruityMarket {

    AggregatorV3Interface internal priceFeed;

    /**
     * Network: Kovan
     * Aggregator: ETH/USD
     * Address: 0x9326BFA02ADD2366b30bacB125260Af641031331
     */
    constructor() public {
        priceFeed = AggregatorV3Interface(0x9326BFA02ADD2366b30bacB125260Af641031331);
    }

    /**
     * Sends event on receive
     */
    event Received(address, uint);

    receive() external payable {
        emit Received(msg.sender, msg.value);
    }

    /**
     * Returns the latest price
     */
    function getLatestPrice() public view returns (int) {
        (
            uint80 roundID,
            int price,
            uint startedAt,
            uint timeStamp,
            uint80 answeredInRound
        ) = priceFeed.latestRoundData();
        // If the round is not complete yet, timestamp is 0
        require(timeStamp > 0, "Round not complete");
        return price;
    }
}
This smart contract must be deployed to an Ethereum network, then the address of the generated contract should be stored in the addr parameter in our web3entry.js file used by the front-end web app. This JavaScript file creates the connection between the front-end and the on-chain contract we are deploying. You can easily deploy the smart contract via Remix.
Now we can test the finalized Fruity Market PoC.
Test the Finalized Fruity Market PoC
If you deployed the app locally, open the locally deployed application. Otherwise, you can use our already deployed version.
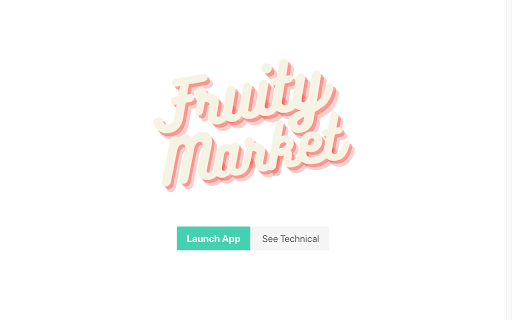
To begin, click on the “Launch App” button.
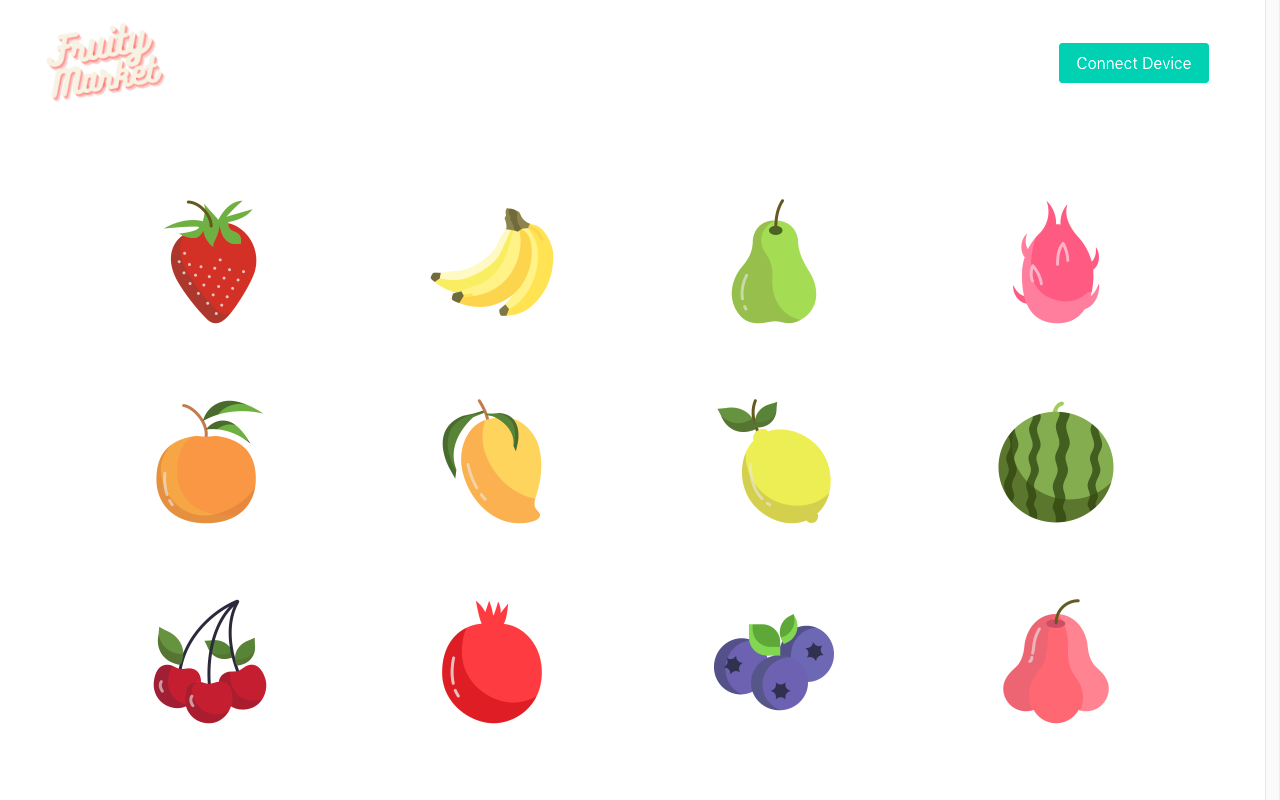
Click on the “Connect Device” button to connect to the Arduino board.
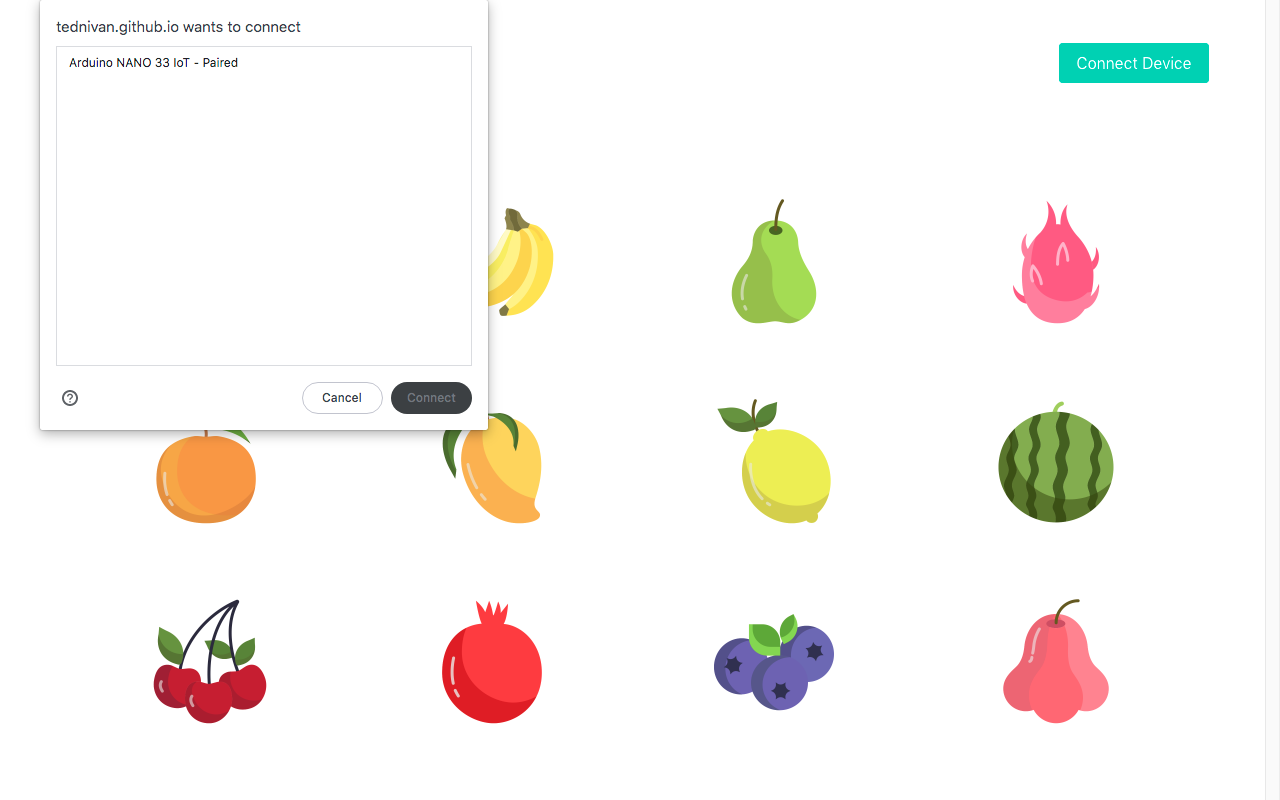
Select the “Arduino NANO 33 IoT” board then press the “Connect” button.
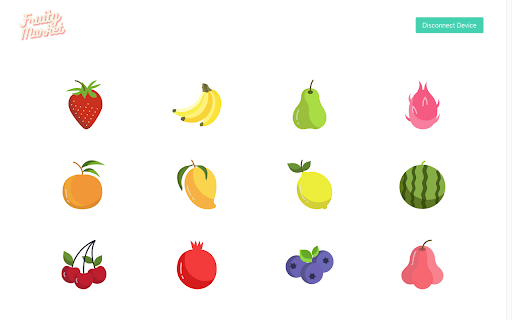
The top-right green button will change to “Disconnect Device” if the connection is successfully established. If so, you can now pick a fruit to purchase.
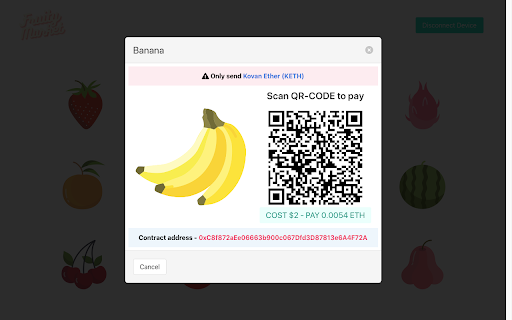
Pay with any Ethereum wallet using the Kovan Network by scanning the QR-CODE and entering the required ETH amount (this will vary depending on the current ETH/USD price).
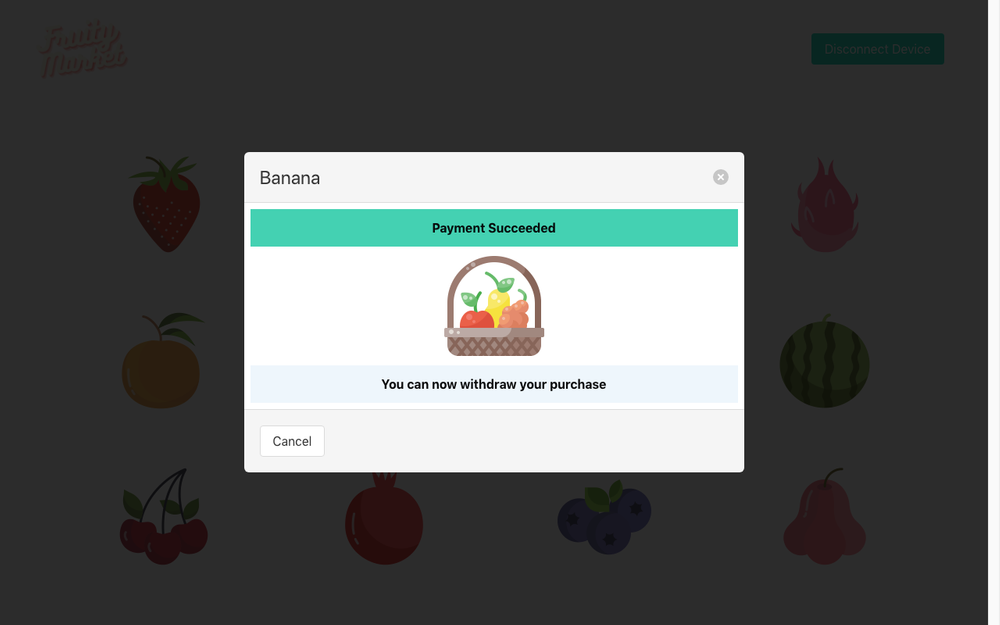
This page will appear in the case of successful payment. The LED on the Arduino board will also turn on for a short period of time to simulate the fruit delivery.
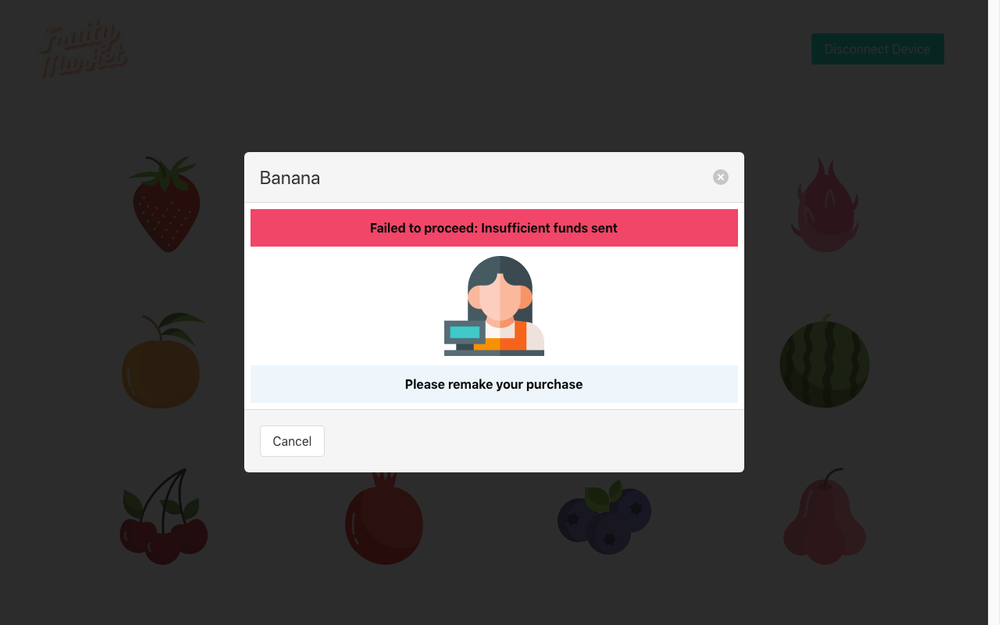
In case the customer sends an amount lower than the fruit’s price, the payment will get rejected.
What’s Next for Fruity Market
The next step for Fruity Market is to improve the smart contract logic to handle the payment in case the user pays more than the required amount. Additional next steps include integrating hardware that replicates a more realistic vending machine user experience using a Raspberry Pi 4 with a touchscreen.
As the hardware and smart contract logic become more closely aligned with current enterprise vending machine functionality, adding additional payment options such as ERC-20 stablecoins like DAI or USDC supported by Chainlink Price Feeds will enhance the experience and highlight the interoperable nature of cryptocurrencies as payment systems.
Start Building with Chainlink Price Feeds
If you’re a developer working on connecting Arduino or other hardware to blockchains, join the vibrant Chainlink community for support and collaboration. Reach out here or visit the developer documentation, and you can also subscribe to the Chainlink newsletter to stay up to date with everything in the Chainlink stack.
If you learned something new here, want to show off what you’ve built, or developed a front-end for some of the demo repos, make sure you share it on Twitter, Discord, or Reddit, and hashtag your repos with #chainlink.
The Chainlink Fall 2021 Hackathon kicks off October 22, 2021. Whether you’re a developer, creator, artist, blockchain expert, or completely new to the space, this hackathon is the perfect place to kickstart your smart contract development journey and learn from industry-leading mentors. Secure your spot today to compete for over $300k in prizes.


