Adding Cloud-Based Development to Chainlink Starter Kits
Chainlink Starter Kits can now be opened in Gitpod. What does that mean for developers? The friction of starting up a development environment has been dramatically reduced. You won’t need to worry about installing the requirements or proper tooling versions—it’ll all be handled for you. Look for the Open in Gitpod button on the Chainlink Starter Kits repos. With one click, you’re in a cloud-based development environment and ready to go!
Taking Learning To The Cloud
Learning a new programming language or framework is tough enough on its own. If you’d like to get started and not worry about setting up your entire development environment, having the option to use starter kits via Gitpod is the easiest way to begin. Let’s walk through the process.
Make It Your Own
You’ve decided to build your project or perhaps noticed something you’d like to improve in the existing starter kit repositories. The first steps for both are the same. You will need to fork the repository. Look for the Fork button on the top right of the GitHub page.
What Exactly Is a Fork?
As defined by GitHub, a fork is a copy of a repository that you manage. Forks let you make changes to a project without affecting the original repository. You can fetch updates from or submit changes to the original repository with pull requests.
Once you’ve created a fork, you can still use Gitpod. However, Open in Gitpod will need a slight change.
You could use the URL trick of prepending gitpod.io/# to your new forked repository. Or, if you’d like to update README.md, you will need to change the following line.
[] (https://gitpod.io/#https://github.com/smartcontractkit/hardhat-starter-kit)
You’ll need to replace <YOUR_ACCOUNT_HERE> with your GitHub account.
[] (https://gitpod.io/#https://github.com/<YOUR_ACCOUNT_HERE>/hardhat-starter-kit)
Where To Go From Here
Once you’ve forked the repo, you can build out your project.
If you’d like to open a Pull Request (PR) to help improve the starter kit, there are a few more steps.
First, in your forked repo, make a change.
Once this change is saved, create a branch and use that branch to push your changes to GitHub.
$ git fetch upstream

$ git merge upstream/main

$ git rebase main

$ git add README.md

$ git commit -m "Fix: correct quickstart npm command"

$ git push

$ git push --set-upstream origin new_feature
Once your change is on GitHub, you should see a new message like this.

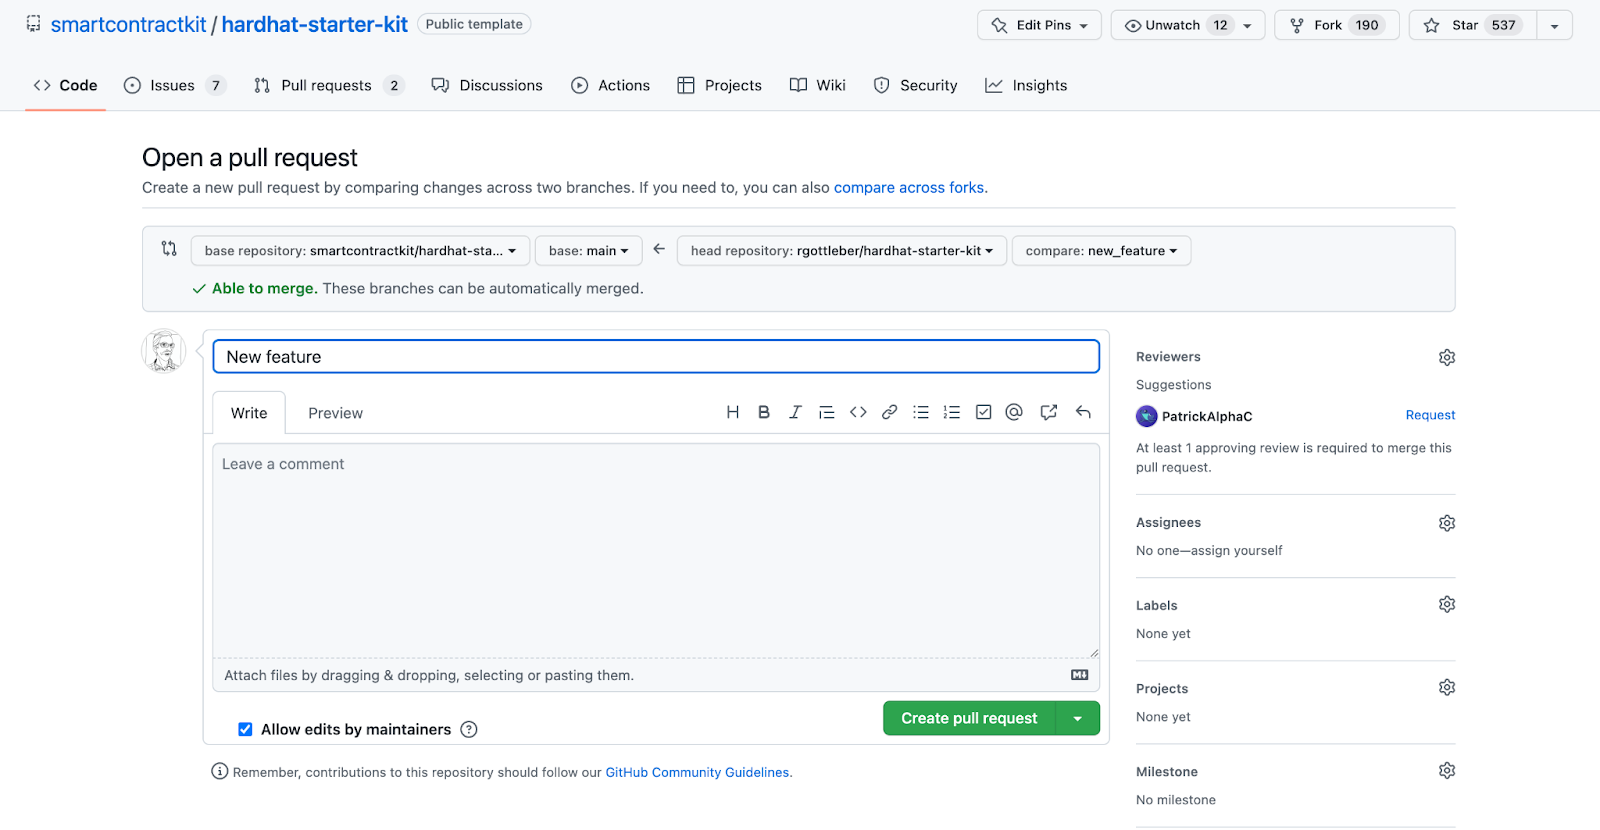
If you click Compare & pull request you will be able to open a pull request with the changes to the upstream repository.

Once you’ve filled in the details to explain your changes, click Create pull request. Congratulations! You’ve made a pull request to the starter kit repository!
Summary
With cloud-based development added to Chainlink Starter Kits, developers now have an easier path to getting started. We’re excited to see what you build.
Learn more about Chainlink by visiting chain.link or reading the documentation at docs.chain.link. To discuss an integration, reach out to an expert.
